|
Page 5 of 5
Step Four:
Burn the Clip to DVD Using iDVD
iDVD is Apple's simple program for
creating DVDs; if you have a DVD burner built into your Mac, you should
have iDVD on your computer. If you are using an external DVD burner,
refer to the directions that came with the burner on what software to
use.
For iDVD, it is a simple matter of
choosing a "theme" or look for your DVD, dragging-and-dropping
your QuickTime files onto the workspace, and burning the DVD.
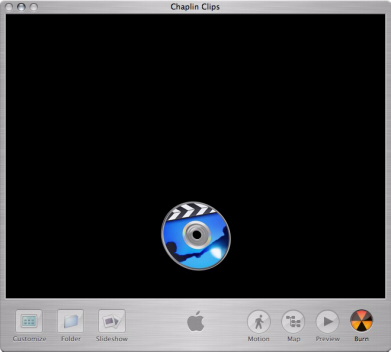
When you open iDVD, you get the following
screen (note that I'm still using an older version of iDVD, but the
basic procedure hasn't changed):
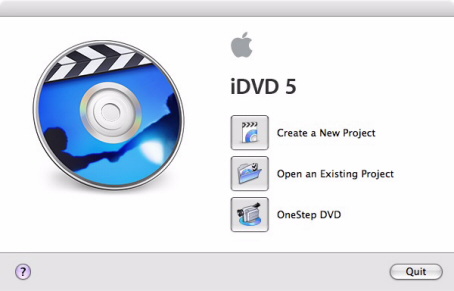
Select "Create a New Project,"
then select the name of your DVD and where to save it. When iDVD
opens, choose a theme for the DVD by clicking on "Customize"
and selecting from the different presets. Because all I need is
simplicity and functionality, I like to use the "Brushed Metal
Two" theme:
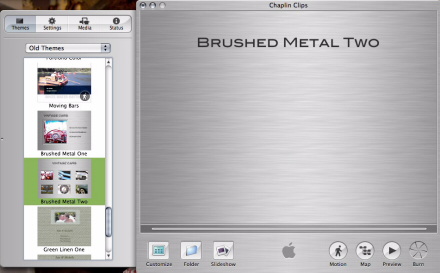
Note for iDVD 6 users: iDVD version 6 and later have a slightly different interface (below). Note that the "Brushed Metal" theme may still be found through the "Old Themes" drop-down menu (upper right hand corner) and that there is no longer a "Customize" button. Also, the instructions below apply to the "Chapters" menu in the "Brushed Metal" theme, not its "Main" menu.
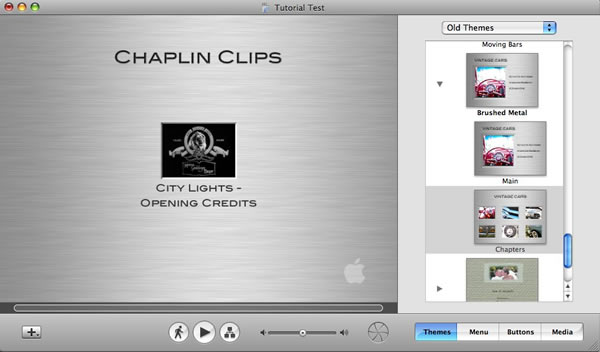
Once you have a theme you like, you
can replace any text by clicking on it and writing your own titles,
captions, etc. Then you can drag-and-drop your clips onto the
workspace, which represents what you will actually see when you play
the DVD:
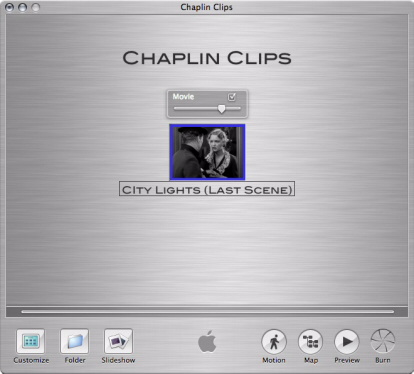
If you want a different frame from
the clip to appear on the menu, just click on the picture and use the
slider to select a new frame:
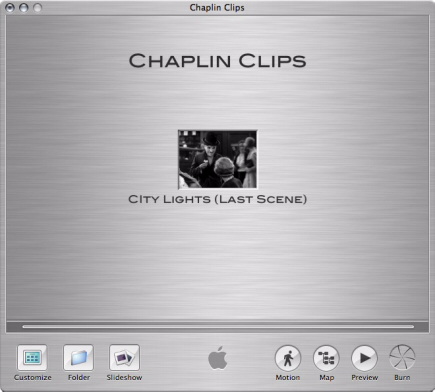
You can add more clips as desired in
the same way so that all of your clips for a given lecture will be on
the same DVD. You can also organize your clips into folders by
clicking on the "Folder" button to add a new folder; clicking
on that folder will then take you to a new screen where you can add
clips or more folders.
Note for iDVD 6 users: "Folders" are called "Submenus" now. You may add new submenus by clicking the plus button  in the lower left corner.
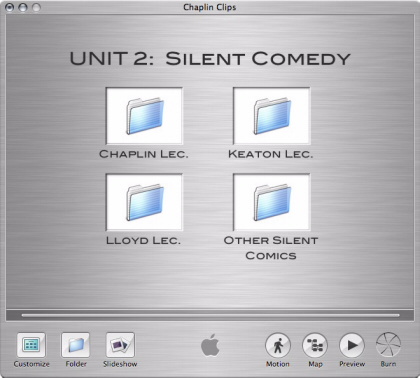
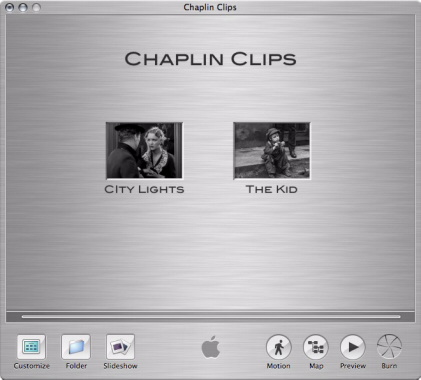
In the above example, clicking on "Chaplin
Lec." will take the user to a new screen with my Chaplin clips:
Once you have all of your clips assembled,
organized, labeled, etc., you can "test drive" the disc by
clicking on "Preview" on the lower right. This will
simulate the operation of your disc in an actual DVD player. This
brings up a virtual remote control with which you can navigate through
menus, make sure all of the clips play, etc.
When everything is to your liking,
you are ready to burn the DVD. Insert a blank DVD and click twice on the "Burn" button
on the lower right.
NOTE: For best results, use higher-quality,
non-rewritable DVDs. I have never had a problem with Maxell DVD-R
discs, which have always recorded flawlessly and have played in every
player I've tried them in.
After your disc has finished burning,
eject it and then put it back into your computer to see if it will play
using your DVD Player. If not, then you know right away that something
went wrong and can try again; if it does play, that usually means that
everything went just fine and the disc is ready for classroom use. Obviously,
it pays to test your disc in your classroom player before class starts
to make sure that the disc plays without a problem, especially if using
older equipment.
Once you've got a functioning disc, you should take advantage of iDVD's archiving ability. As iDVD Help explains, "Archiving your project creates a copy of the project, keeping all of its elements together and linked within the project file. It can take awhile to archive a large project, but after you do, you can move the file to another computer or hard disk, and then open it at any time for further editing or burning to a DVD." Thus, with an iDVD archive file you can continue to update your DVD with new clips and you won't have to start from scratch each time.
That's it! If you have any questions
or problems, feel free to email me:
Bill Kirkpatrick
mwkirkpa {at} gmail {dot} com
|
