|
Page 4 of 5
Step Three:
Select the exact clip you want
and convert it
to DV using MPEG Streamclip
Open MPEG Streamclip; it should look
something like this:
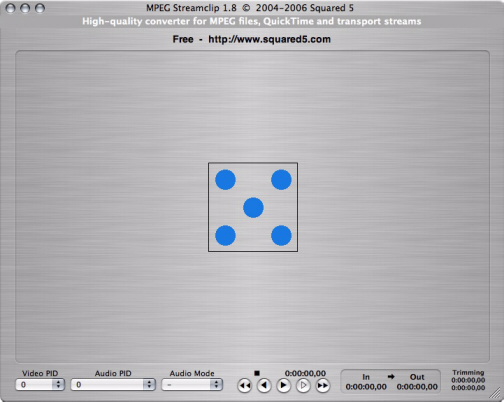
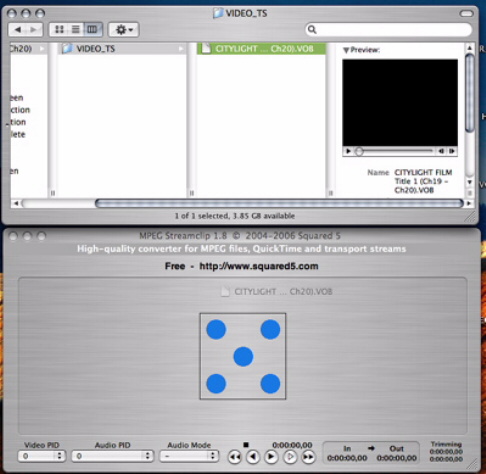
Now you simply drag-and-drop the .VOB
file that you created with Mac the Ripper onto that middle square with
the five dots:
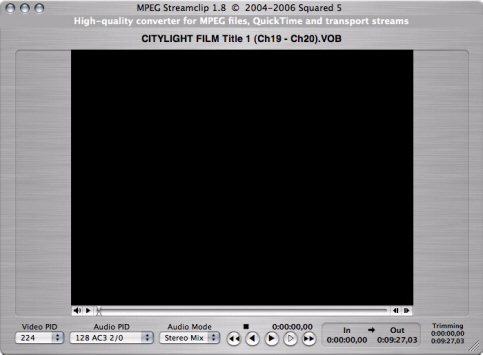
In a few seconds, you should see a
screen, with the play button, time slider, etc., right under it; this
is the chapter that you extracted from the DVD:
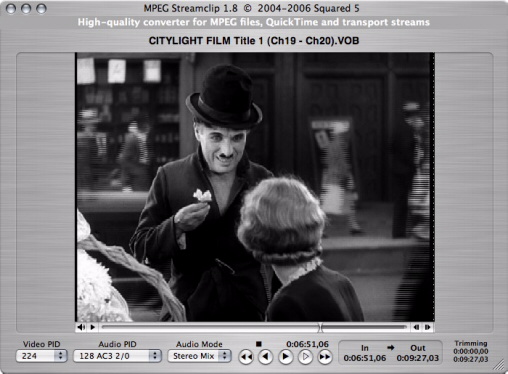
 You can now watch your rough clip by
hitting the play button. You can also use the slider to quickly
jump to a different point in the clip. You can now watch your rough clip by
hitting the play button. You can also use the slider to quickly
jump to a different point in the clip.
Select the exact clip you
want, to the frame, simply by setting an "In" point (i.e.
the first frame you want) and "Out" point (the last frame).
First, play the clip until the first frame you want comes on and hit
pause; you can use the right and left arrow buttons on you keyboard
to move through the clip frame-by-frame.
Once you have the starting frame that
you want, press "I" (for "in") on your keyboard.
You'll notice that everything before that point in the slider gets grayed
out, and there will automatically be a frame count entered in the In/Out
box on the lower right:
Similarly, find the last frame you
want and press "O" on your keyboard to set the out point:
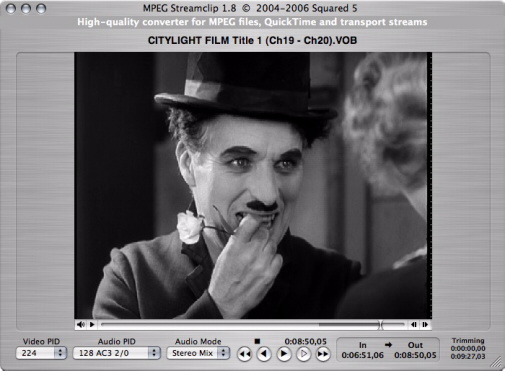
Everything in the slider timeline should
be light gray except for the segment you want, which should be dark
gray. For most users most of the time, the default settings for
video, audio, etc. should work fine. You are now ready to export
this clip to iDVD.
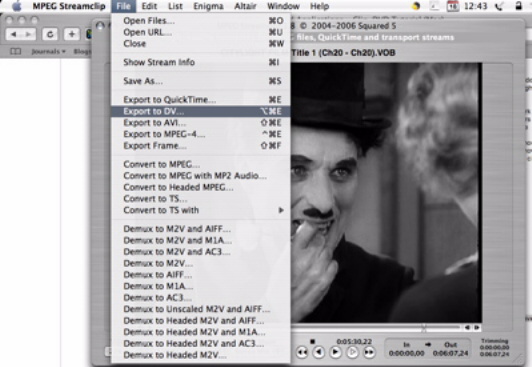
To convert the clip, click on the "File"
menu in MPEG Streamclip and choose which format you want. You'll notice that you have many options; for NTSC and PAL users, the quickest and easiest for throwing together a quick clip DVD is the DV (digital video) format. Select "Export to DV":
You will get a screen that looks something
like this:
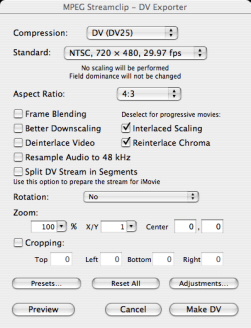
Make sure the desired standard (NTSC or PAL) is selected; other than that, the default settings will once again work for most users most of the time.
Click on "Make DV" on the bottom right. On the save screen, select the name of your file and where you want it saved, and MPEG Streamclip will begin exporting your clip as a DV movie. This will only take a few minutes for a short clip:
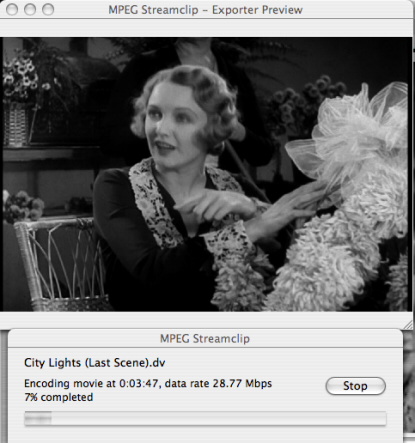
Once MPEG Streamclip has finished exporting
the clip, you are now ready to assemble a clip DVD using iDVD.
|
